One of my friends is having a baby shower this weekend, so I finally got my butt into gear and started making her some presents. I decided that I would try my hand in making a Hooter Hider (nursing cover). She isn’t super girly, so I chose a fabric that reminded me of her… and bonus… it was on sale. This project was easy and fun, I will definitely be making more for other soon to be mommies that I know.
1 yard fabric
3/4 or 1in D-rings
12in boning
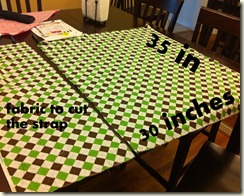
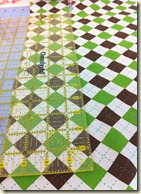
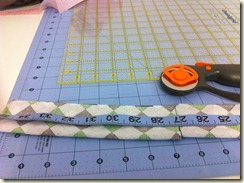
I pre-washed my fabric and it shrunk by about an inch… so always remember to re-wash. I left the 35 inches to be the top/bottom of my cover and then cut the fabric to 30 inches in length. The left over fabric, I cut out a four inch strip along the long side.
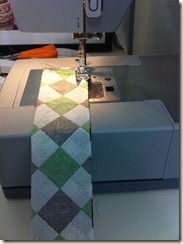
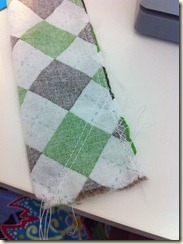
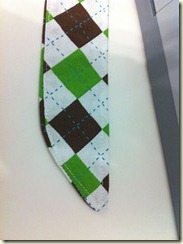
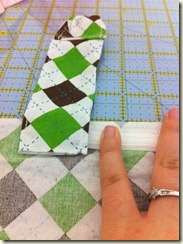
I took the 4in strip and folded it length wise pretty sides together. I did a straight stitch and then a zig zag stitch so that it wouldn’t fray. at one of the ends, I then made a diagonal stitch so that the strap will have a point for threading through the D-rings. I forgot to, but I would recommend cutting off the extra fabric so that you will get a crisper point.
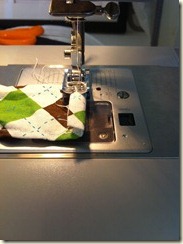
I cut the strip so that the end that had the point was 27 in and the other end was 8 in. I turned both pieces right side out and then did a straight stitch along the sides.
I folded over about 1/4 in and stitched, threaded the D-rings and then folded the end over again and sewed it closed. I took the main piece of fabric and sewed the sides and bottoms with a nice seam, but left the top undone.
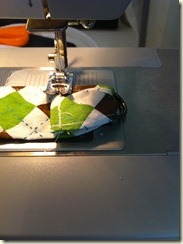
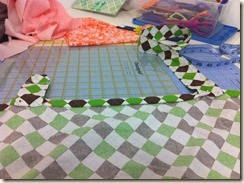
The next part was a little bit more tricky, but not too bad. I laid the boning in the middle of the top of the cover and then put the straps at the very end of the boning. I fold everything over once, and then I fold it all over again. I sewed a line near the top and bottom of the hem, being sure to get close to the hard part of the boning and getting the fabric part. This will endure that it doesn’t move around. Also be sure to sew where the strap and the boning meet so that it keeps the boning in place. Putting the straps a little bit over the boning adds more fabric so that the hard parts are less likely to poke out.
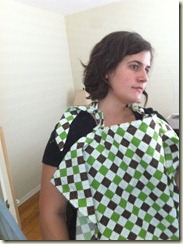
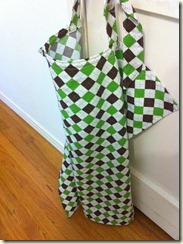
Here I am modeling it and then with it just hung up. The boning helps it stick out so that if you are nursing, you have a view of the baby, but no one else has a view of YOU.
I hope she likes it :)
